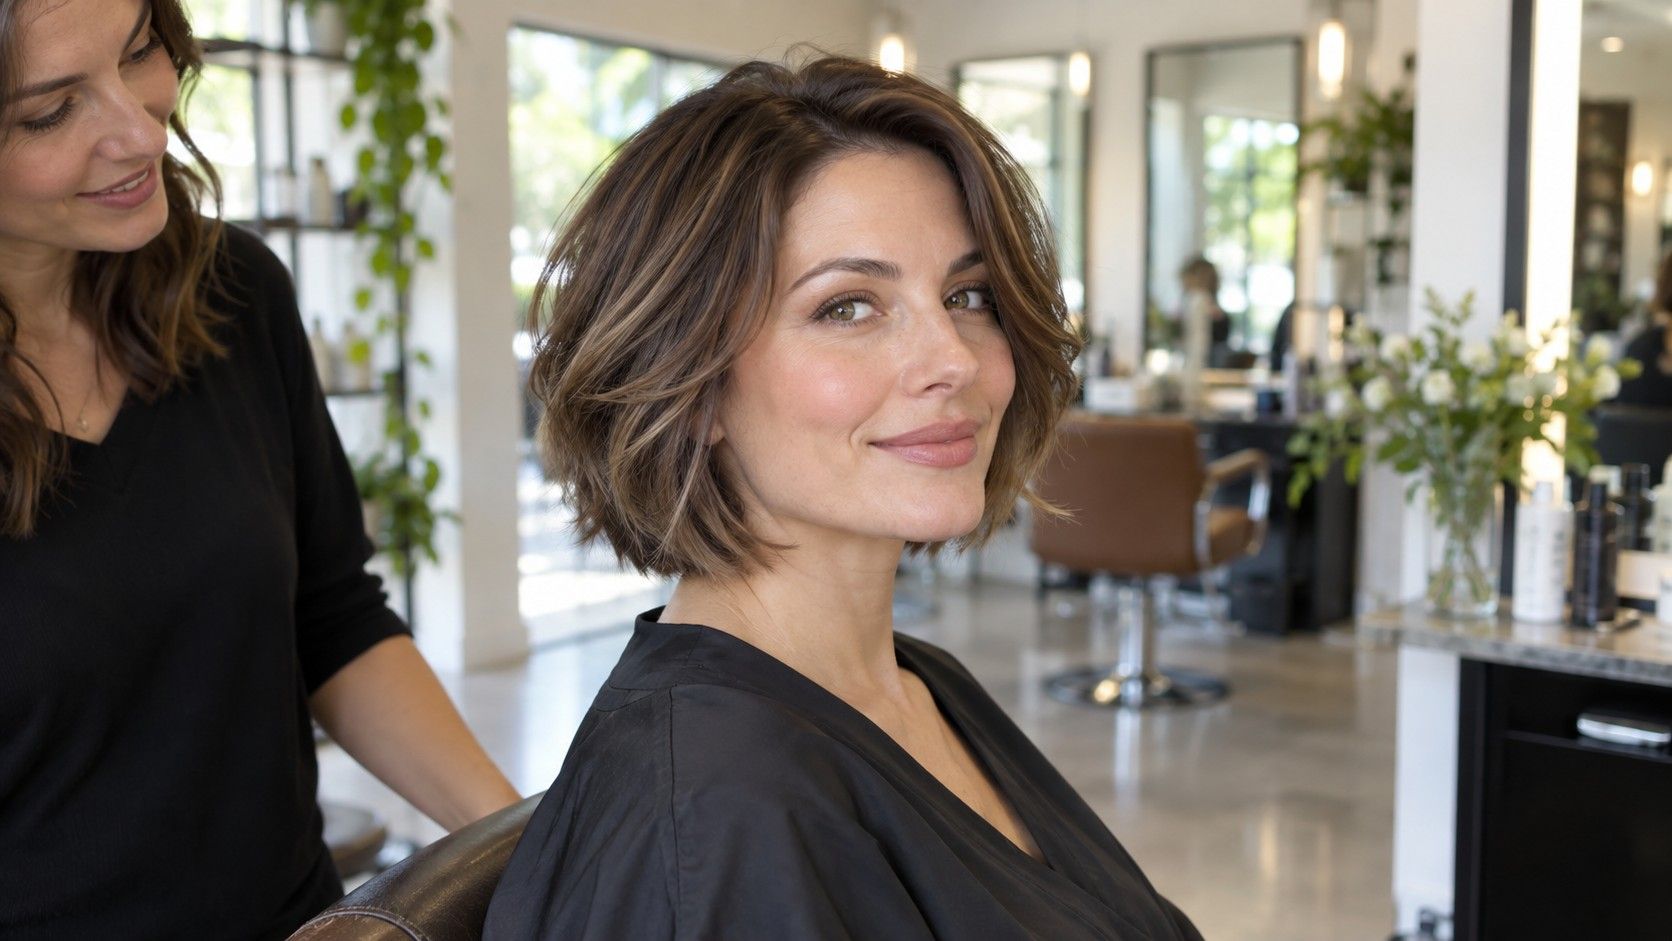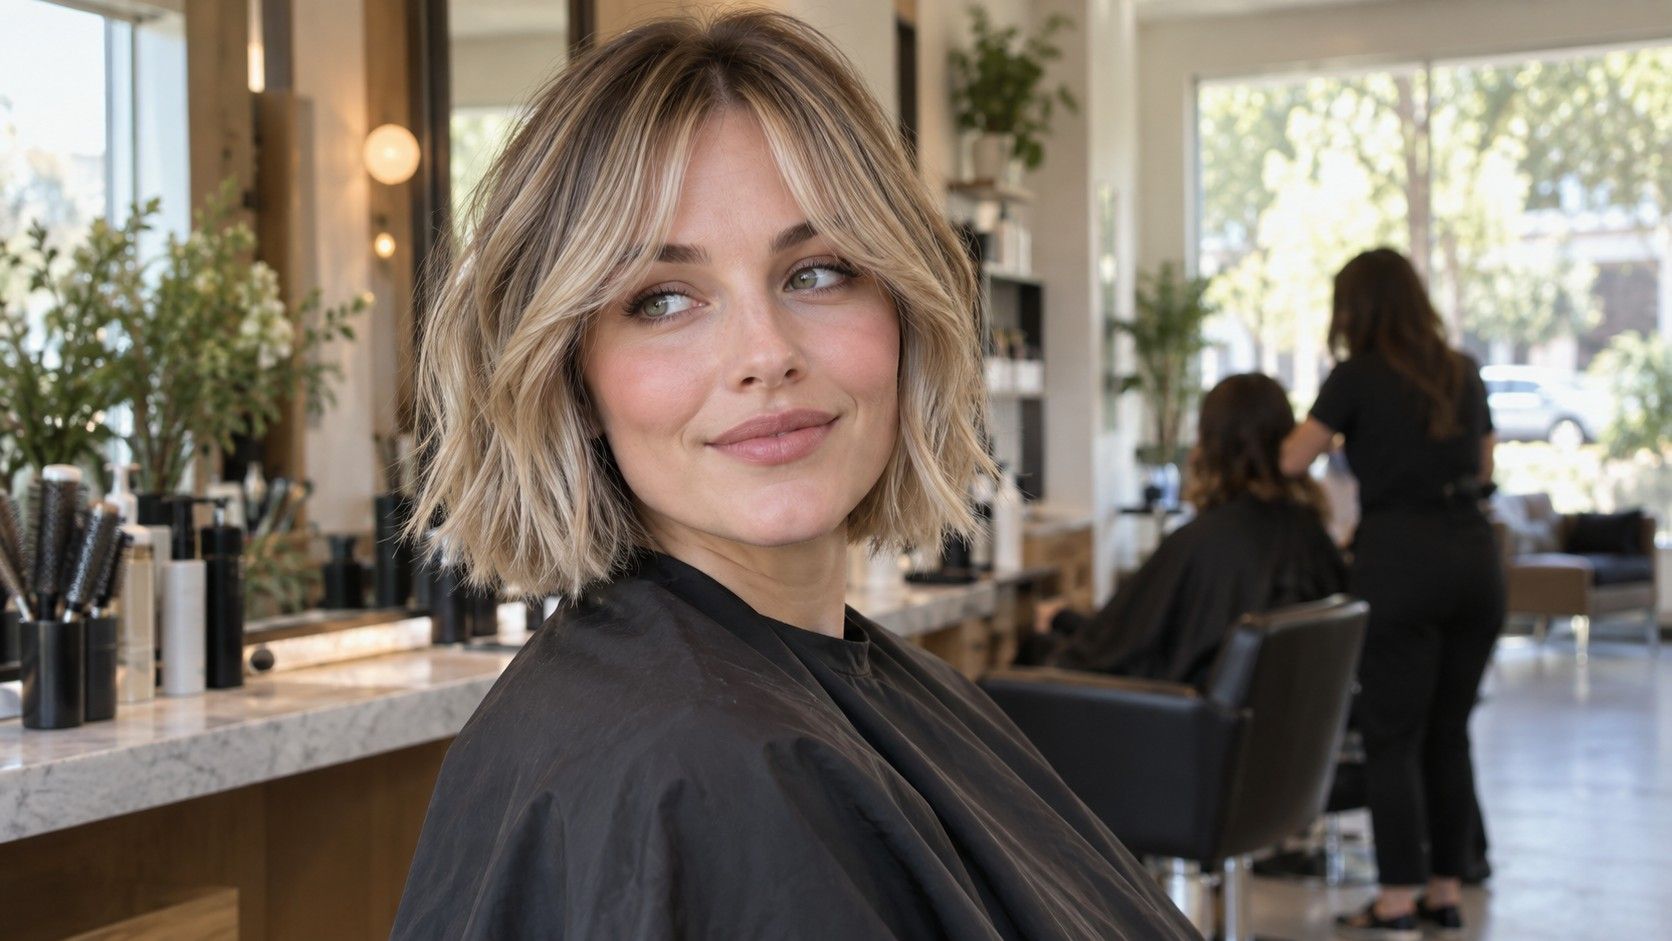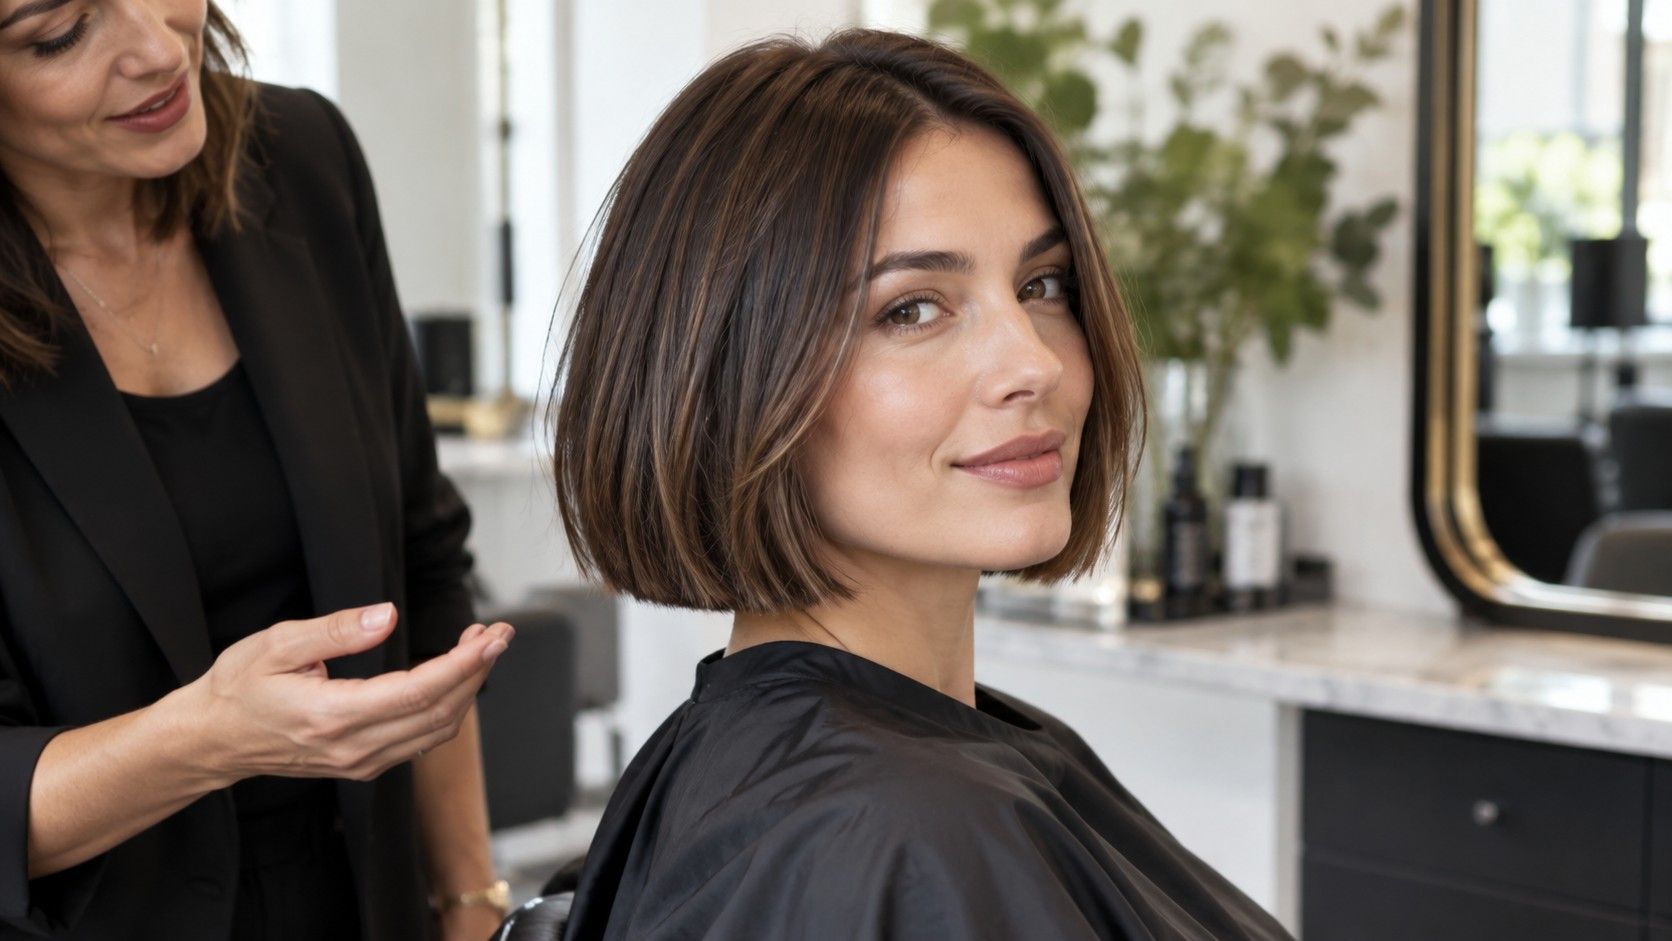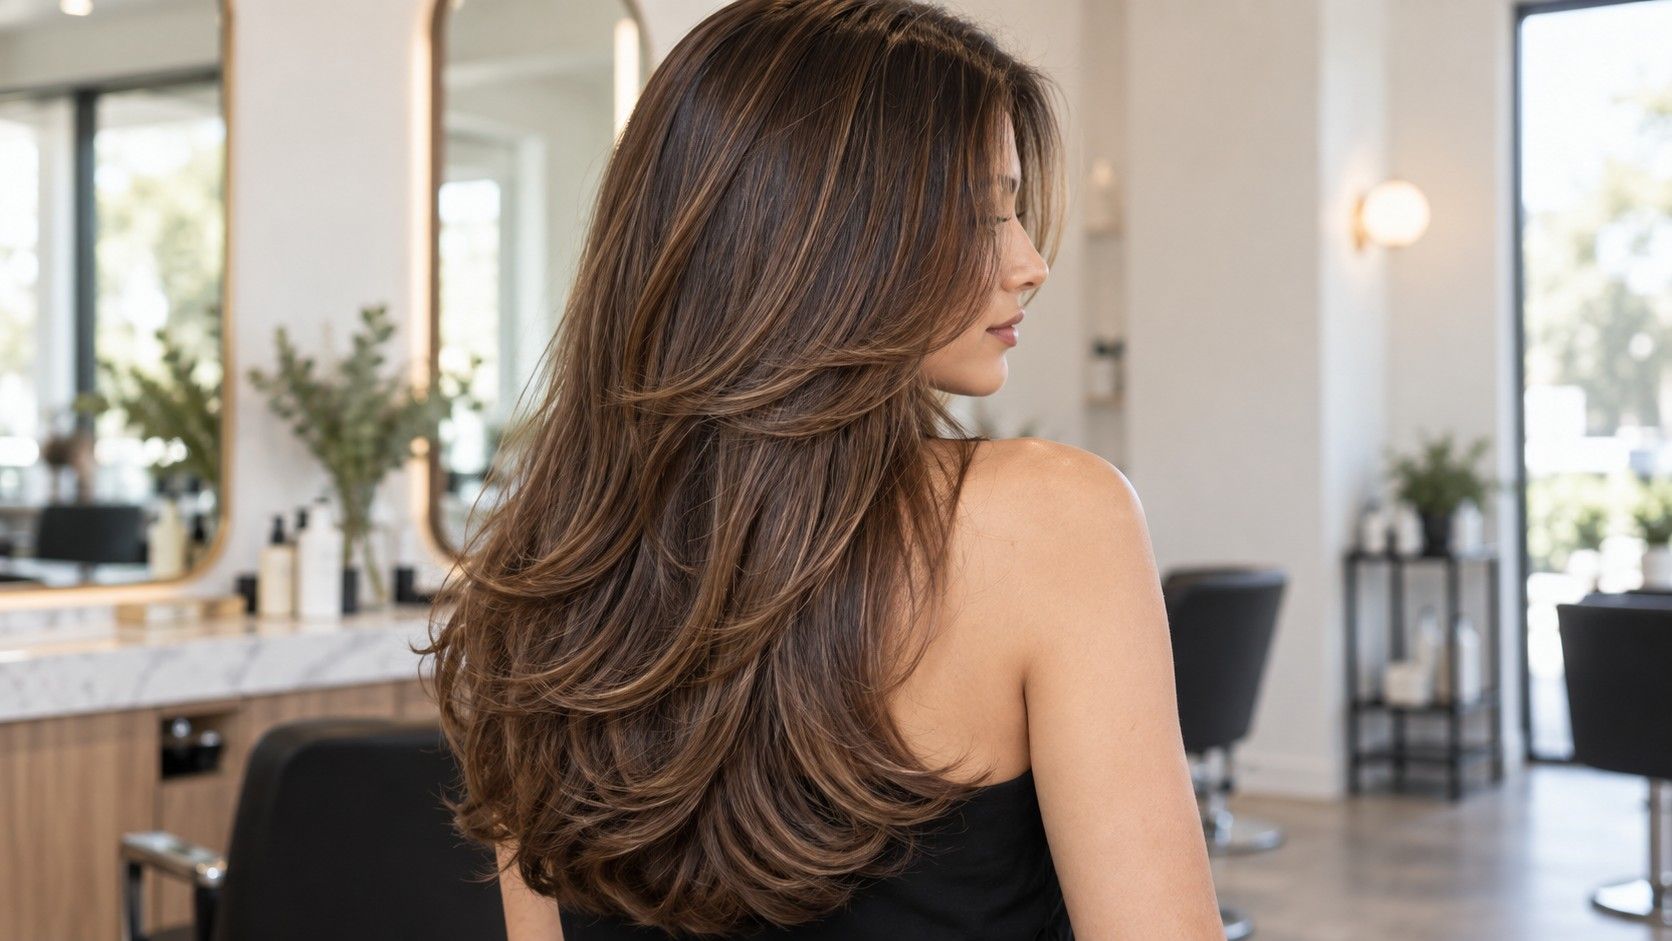
Long layers can make hair feel lighter and more mobile, but they can also make a once-full length look wispy at the bottom. The useful version of long layered haircuts is not a diagram of identical steps. It is a shape that takes your density, natural bend, and daily styling habits seriously, while keeping enough perimeter to make the length look intentional.
Start with the perimeter, not the layers
The perimeter is the lower edge of your hair when it falls naturally down your back. It is the part that tells the eye whether the length looks thick or sparse. When hair is fine, fragile, or already heavily layered, protecting this edge matters more than adding another dramatic tier. A mostly blunt baseline with only gentle softness at the corners usually keeps long hair looking healthier than a deeply feathered finish.
Where should layers begin?
Density changes the calculation. Dense hair can carry more internal removal because there is enough hair behind the visible surface. Fine hair often needs layers that are longer and fewer, especially through the last six inches. The phrase long hair with layers can describe anything from invisible movement to a full shag; ask your stylist which one they mean before agreeing to a reference photo.
Keeping the ends from looking thin
Look at your ends in daylight when the hair is dry. If they already separate into narrow strands, cutting shorter layers high into the crown will not repair that effect. A small clean-up of damaged length and a more solid outline can. Layers are useful when they create movement above a healthy base, not when they are asked to disguise a base that needs attention.
The start point controls how dramatic the haircut feels. Layers beginning around the cheekbones create visible movement around the face and can make blow-drying more interesting, but they need to connect gradually into the length. Layers beginning below the collarbone are quieter. They give the ends room to turn and reduce the heavy triangle effect without changing the overall silhouette from the front.
For long, straight hair, starting too high can create a shelf: fullness at the crown, then a sudden gap before the lower length. A lower start point usually looks more continuous. For wavy hair, layers can start a little higher because the wave fills the space between lengths. Even then, it helps to leave the outer layer long enough that the hair still has a clear outline when the waves relax on day two.
Ask to see the plan with your hair in its usual part. A center part exposes symmetry, so uneven layer placement becomes obvious. A deep side part can create extra lift but may concentrate weight on one side. Neither is wrong. The right layer start point is the one that works with the part you actually wear, not the part used for the cut.
| Hair situation | Safer layer approach | What to avoid |
|---|---|---|
| Fine long hair | Long, blended layers below the collarbone | Many short layers through the bottom half |
| Dense straight hair | Internal movement with a solid outer edge | Removing weight only at the ends |
| Wavy long hair | Layers placed to support the natural bend | One blunt line that makes the shape triangular |
| Very long hair with tangles | Minimal layers plus a clean perimeter | Razor-heavy ends that catch together |
Face-framing layers and overall layers do different jobs
Face-framing layers are the pieces closest to the face. They can soften a blunt long cut, make a ponytail look less severe, and give the front some movement without taking much weight from the back. Overall layers run through the whole interior and affect volume, drying time, and how the hair stacks when it is curled. Mixing up these two requests is a quick path to getting more layers than you wanted.
If you enjoy wearing your hair up, face-framing pieces are often enough. They leave the long perimeter intact and make a low bun or clip feel less bare around the front. If your hair feels heavy and flat even after a proper wash, some carefully placed interior layers can help it move. The key word is carefully: the shortest pieces should not be so short that they disappear into a ponytail as loose, uncooperative fragments.
Long curtain bangs can connect beautifully to face-framing layers, but the connection needs a gentle slope. A sudden short piece at the cheek followed by long hair can look dated and can tangle around glasses or earrings. When the front is cut to blend into the length, it can be worn parted in the middle, swept aside, or tucked back without requiring a perfect blowout.
Thin-looking ends are usually a combination of density, breakage, and shape. Heat damage and rough detangling matter, but haircut design matters too. If every layer ends in a different thin point, the eye reads the whole bottom edge as less substantial. Keeping the last few inches relatively full gives long layered haircuts a foundation; the movement can happen above it.
A good salon conversation includes how much length can realistically come off. If the final inch is see-through or constantly splitting, holding onto it may make the hair look longer but not better. A modest trim can make the remaining length appear denser. That is especially true when the stylist then avoids carving too deeply into the new ends.
At home, detangle from the ends upward, particularly after washing. Start with conditioner that gives enough slip, then use a wide-tooth comb or flexible brush. If the hair catches at the same point every time, inspect that area rather than forcing the brush through it. Repeated tugging creates the short broken hairs that make the perimeter look uneven long before your next trim.
Styling layers without turning every wash day into a project
Layers show best when the roots have some lift and the lengths have direction. That does not mean you need a salon-style blowout. For a simple finish, dry the roots first, then direct the front pieces away from the face with a round brush for a few seconds per side. Let the rest dry mostly smooth. This gives face-framing layers a purpose without forcing every section into a curl.
For naturally wavy hair, apply a lightweight leave-in or curl cream while it is damp, scrunch gently, and avoid repeatedly touching the hair as it dries. The layers will separate on their own if the cut has been built for your wave pattern. If the hair becomes fluffy instead, the issue may be too much brushing after it dries rather than a lack of product.
Heat tools are useful for occasional polish, not a requirement for a good cut. When you do use them, work in larger sections than you think. Tiny sections create a more formal finish and take much longer. A looser bend through the middle and a straighter end tends to make layers look current while preserving the length of the perimeter.
Trim habits that keep long layers looking deliberate
Long hair does not need a major haircut every six weeks, but it benefits from a regular check of the shape. Eight to twelve weeks is a common window for a light trim, depending on breakage, heat use, and how sharply the layers are cut. The goal is not to keep the hair frozen at one length. It is to remove damage before it travels upward and to keep the face-framing pieces connected to the rest.
Between appointments, take note of what has changed. Are the front layers falling into your face? Are the ends knotting more than before? Does the crown look heavy while the bottom looks light? These details are better instructions than asking for more volume or more layers in general. They point to a specific adjustment: a slightly lower layer start, less thinning, or a cleaner baseline.
The most wearable layers for long hair leave you options. You should be able to wear the hair smooth, wavy, half-up, and in a basic ponytail without discovering that the cut only works from one angle. That versatility is a better measure of success than the first photograph taken under salon lights.